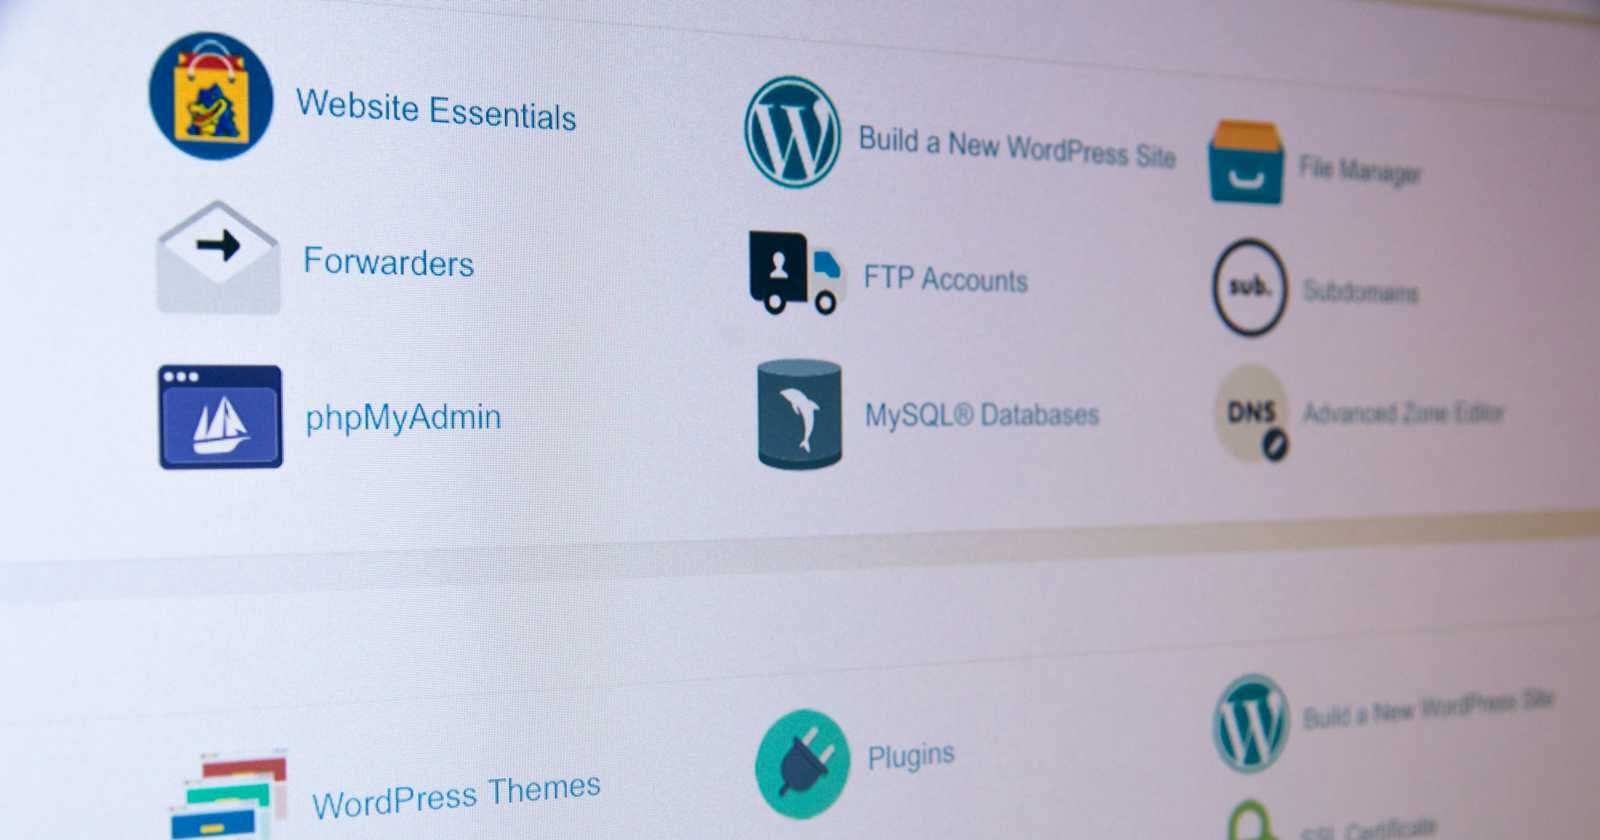
To help a newbie easily remember this, I decided to document it
If you're using WordPress and cPanel, you don't need to manually install PHP extensions, as cPanel usually comes with the necessary PHP modules pre-installed and configured. If you also have a specific requirement for a PHP extension that isn't enabled by default, you can usually enable it through the cPanel interface. Here's how you can do it:
Log in to your cPanel account.
Look for the "Software" or "Software/Services" section, which usually contains options related to PHP settings.
Within this section, you may find an option called "Select PHP Version" or something similar. Click on it.
This will take you to a page where you can manage your PHP settings. Here, you should see a list of available PHP extensions.
Check the box next to the extension(s) you want to enable.
Save your changes.
Once you've enabled the PHP extension(s) you need, they should be available for your WordPress site to use. Keep in mind that enabling certain PHP extensions might require a server restart or might affect the performance of your website, so make sure to consider those factors. Additionally, if you're not sure whether a specific extension is already installed or how to enable it, you can reach out to your hosting provider's support team for assistance.


